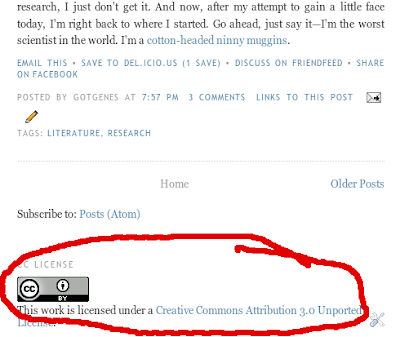
I have intended to place the contents of this blog under a Creative Commons (CC) license for a long while, especially given that all the attractive photos I love to use in these blog entries come from Creative Commons-licensed content on Flickr. For those unfamiliar with Creative Commons licenses, they explicitly permit re-use of creative works a priori. Provided you follow the criteria of the particular CC license of the work (usually simply attributing the original creator), you may simply use, or even modify the work, without the need to contact the original creator for direct permission to do so. Read the Creative Commons' website for more detail.
I had let this task linger far too long, so, spurred on by a recent email exchange with Mark Hahnel of Science 3.0, I finally felt the inspiration to get this done. Unfortunately, I didn't find the top-ranked pages in Google searches for placing a CC license button on Blogger/Blogspot blogs very helpful, so I decided to just figure it out. It turned out to be a simple process, so I documented it and present it here, in step-by-step format (all under the CC-BY license, of course):
- Go to the Creative Commons website and choose a license

- Copy the HTML that CC presents you after you've selected your license

- Go to your blog's page, and click the "Design" link in the navigation bar at the top.
 Alternatively, go to your Blogger author page and click the appropriate "Design" link for your blog there.
- Click the "Add a Gadget" link in the design editor (should be one at the bottom of the area).
- Click the link to add an "HTML/JavaScript" gadget.
- Add a title, like "CC License", paste the HTML of your license button that you copied from the CC website into the contents box, and click "Save".

- Optional: You'll be back at the design editor; double-click the new CC License gadget and move it below your Blog Posts gadget (or some other fitting area).

That's it! Your shiny new CC license button should appear where you placed it.


